

February 3, 2024
Automate Blog Publishing with GitHub Actions
Greetings, everyone! This blog is dedicated to those who are tired of the manual labor involved in republishing the same content across different platforms. It's a demonstration of how you can effortlessly publish your blogs from any project directly to Hashnode.
If you're a technical blogger on Hashnode, Medium or Dev.to and simply want to publish your content on Hashnode without encountering any issues, this actions is just for you
A comprehensive YouTube video has been created to walk you through the entire process. Check it out here: YOUTUBE LINK
Introduction to problem ☹️
I have started learning different technologies and sharing all my learning on various social media platforms through blogs and posts. I publish my blogs on Hashnode as It has a good community and huge audience, But also on my own portfolio blog page.
The process required me to copy the markdown file, paste it in the Hashnode editor, change the image URLs, fix the headings, add cover images, and optimise for SEO. I have already completed all steps for personal blog and do not want to repeat them again.
So I wanted to create a tool to simplify our lives by enabling the simultaneous publication of blogs on both platforms. Also to ensure compatibility with various frameworks such as React or Next.js or Vue and make it easy to integrate.
Solution ✨
Hashnode-publish
Checkout at actions marketplace
This is a github-action which allows you to publish your blogs from github with single push. The repository could be of any language or framework it wouldn't matter. It doesn't matter if you are using React, NextJs, Angular, Vue or any other framework of any language. The only requirement is that it should be a github repository.
This action intelligently parses your code, extracting essential elements such as the title, description, and cover image. Furthermore, it handles the parsing of relative images within the Markdown file, converting them into raw.github.com imagesUrl.
The parsed data is then transmitted to the new Hashnode graphQL API to facilitate the blog post publication process.
Benefits of action
-
Improved Workflow: Boosts productivity by simplifying complex tasks, making it easier.
-
Versatile Integration: Compatible with a variety of project setups, ensuring adaptability across different frameworks, languages and workflows.
-
Security: Keeping your key safe. You can make sure only you can post blogs on your page.
How to integrate ⚒️
If you're unfamiliar with GitHub Actions, fear not the integration is a breeze with just 3 simple steps. Follow along, and I'll guide you through the process, providing all the necessary details.
Prerequisites:
-
Hashnode Account: To publish on Hashnode, you need an account. If you haven't registered yet, make sure to create an account on Hashnode before proceeding.
-
GitHub Repository: Don't worry if your repository have code. The integration is adaptable to any programming language or framework.
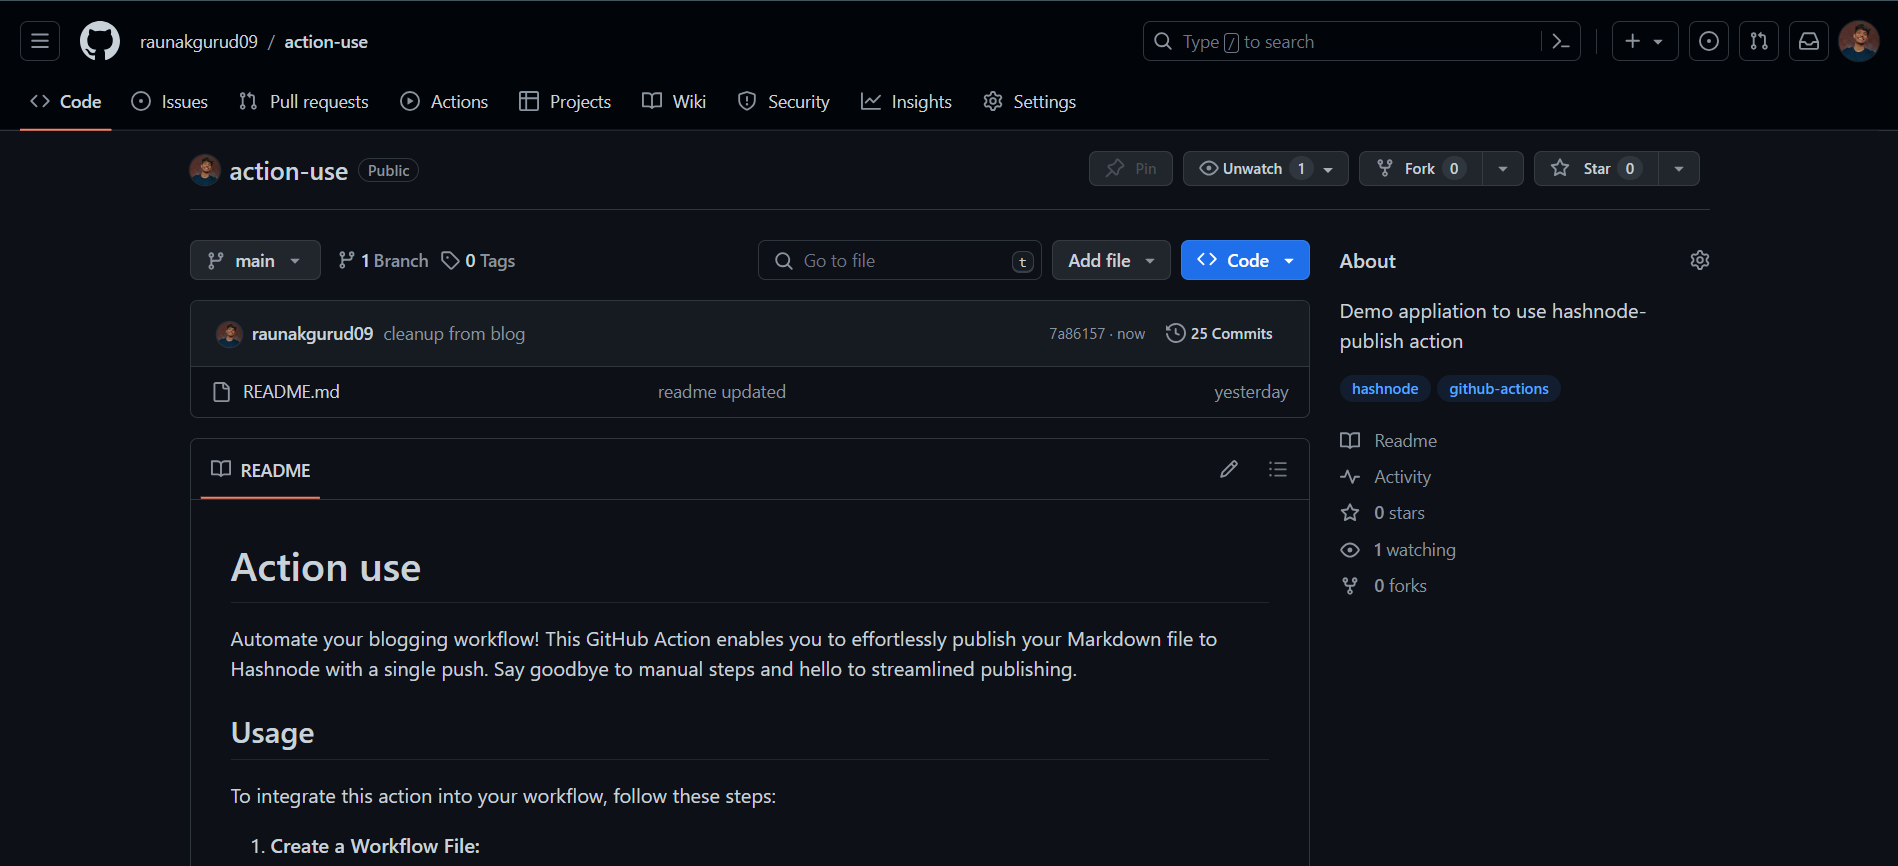
For this demo, I will use an empty repository to be focused on the main project.
As you can see I have a created empty repository created on github with just readme file Just clone this repository on your local machine
Step 1: Add your blog
Feel free to write your blog anywhere from any location, and simply add your blog to your repository. Ensure that your blog follows the markdown `.md` format. We recommend organising your assets, such as images, in the same folder for optimal organisation and seamless integration.
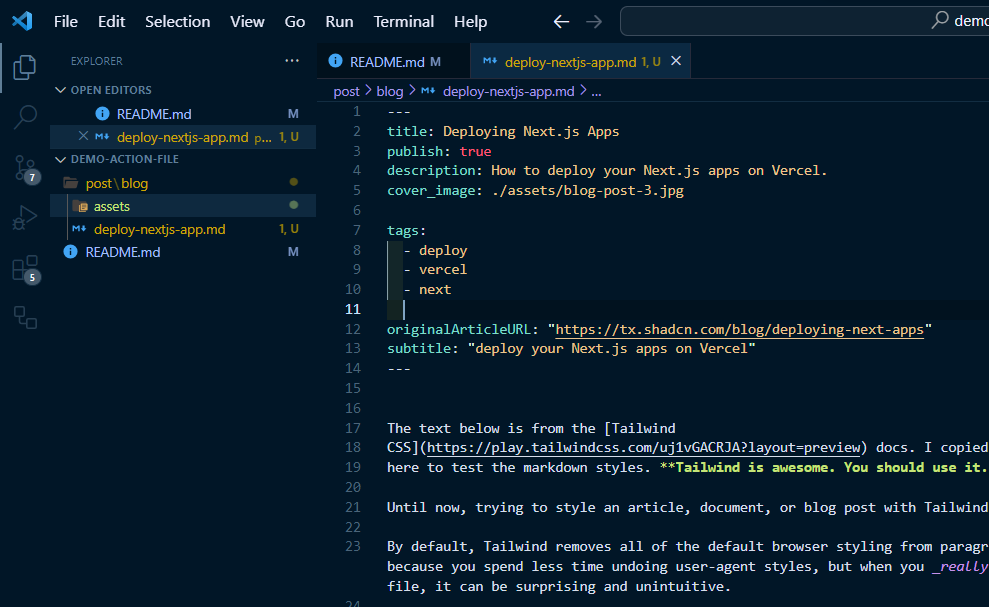
For this demonstration, I've created a folder named "post." Within that subfolder called "blog" to contain all the blogs. Additionally the assets are stored within the same folder
It's essential to include specific metadata when drafting your blog, as this information plays a crucial role in shaping the presentation and visibility of your content.
Here's a breakdown of the key metadata parameters:
-
Title: The title of your blog (Required).
-
publish: A flag indicating whether the blog should be published immediately upon pushing to GitHub. If set to "false," the blog will remain unpublished until specified otherwise (Optional, Default: true).
-
Description: A brief description associated with the blog (Optional, Recommended).
-
Tags: Assign tags to categorise your blog. Include at least one tag (Required).
-
cover_image: The primary image that appears as the blog thumbnail (Optional, Recommended).
-
originalArticleURL: If the blog already exists elsewhere, provide the original URL (Optional).
-
subtitle: A supplementary subtitle for the blog (Optional, Recommended).
-
enableTableOfContent: Determine whether a table of contents should be displayed in your blog (Optional, Default - true).
-
isNewsletterActive: Specify whether to activate a newsletter feature on your blog (Optional, Default - true).
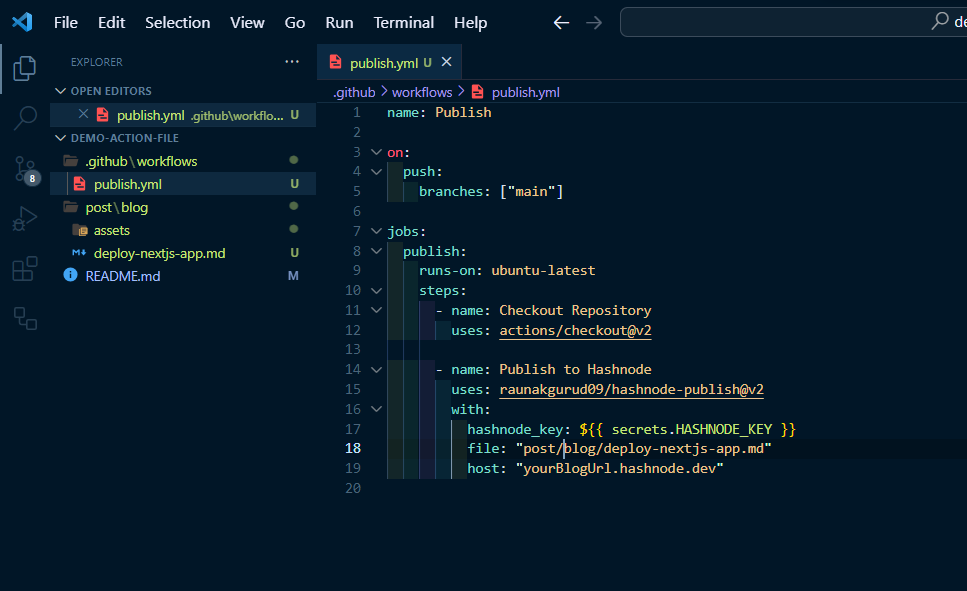
Step 2: Add workflow for automation
To create a action you have to just specify the action in a special file .github/workflows create a file you can name it anything so we will name it as publish.yml
name: Publish

on:
  # publish on event push on branch main.
  push:
    branches: ["main"]

jobs:
  publish:
    # The OS you want to run on ubuntu-latest would be fine
    runs-on: ubuntu-latest
    steps:
      # This step is required as we need to get file details
      - name: Checkout Repository
        uses: actions/checkout@v2
      # The action which publish the blog
      - name: Publish to Hashnode
        # note: using @v2 (current latest version)
        uses: raunakgurud09/hashnode-publish@v2
        id: publish_hashnode
        with:
          hashnode_key: ${{ secrets.HASHNODE_KEY }}
          file: "path/to/your/markdown/file.md"
          host: "yourBlogUrl.hashnode.dev"

        # To get additional detail logs about the workflow
      - name: Get get output
        run: echo "${{steps.publish_hashnode.outputs.result_json}} summary ${{steps.publish_hashnode.outputs.result_summary}}"
Publish to Hashnode
use raunakgurud09/hashnode-publish@v2 action to seamlessly publish the blog post on Hashnode. Make sure you use the latest version check current version on the Marketplace (current version @v2)
uses: raunakgurud09/hashnode-publish@v2
  with:
    hashnode_key: ${{ secrets.HASHNODE_KEY }}
    file: "path/to/your/markdown/file.md"
    host: "yourBlogUrl.hashnode.dev"
This actions expects 3 arguments
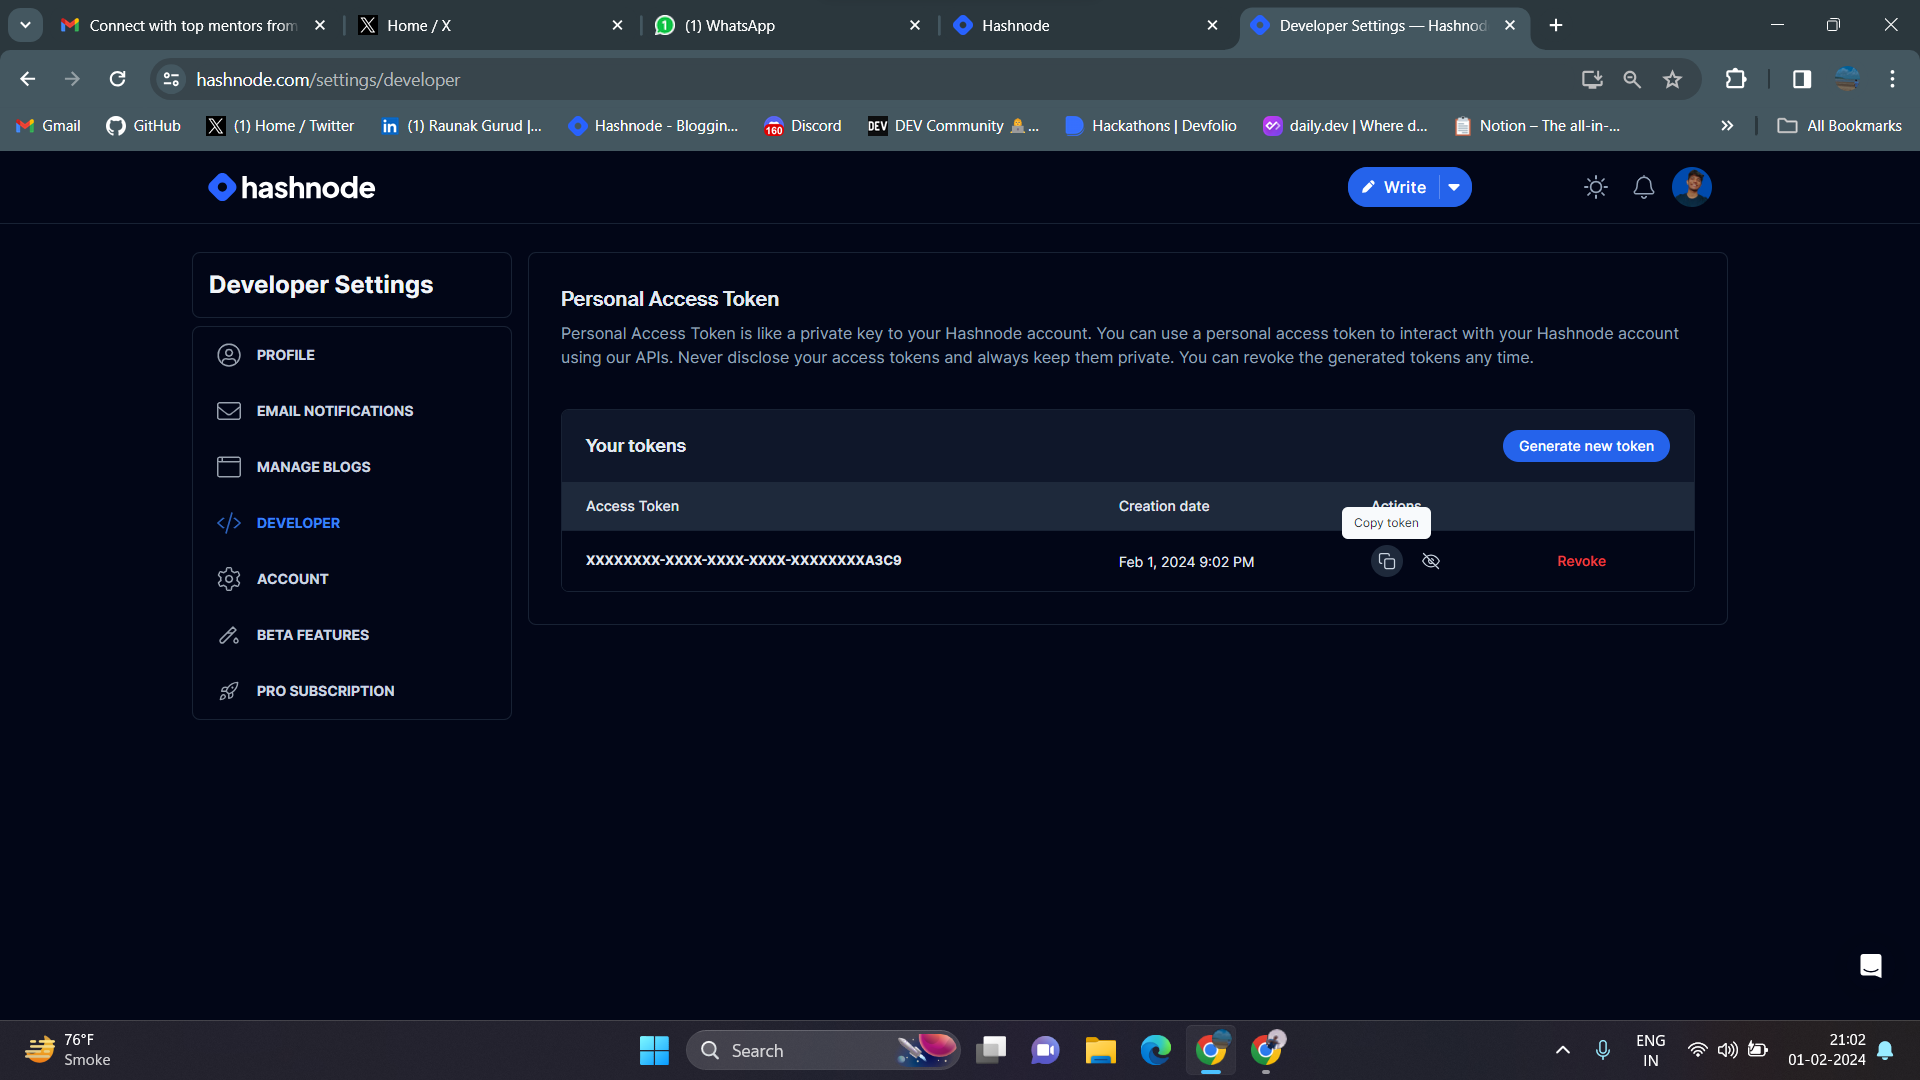
hashnode_key: This is a secret key required to authenticate and authorise the publication on Hashnode. Setup your github action secrets so It is retrieved from GitHub Secrets (secrets.HASHNODE_KEY).
Setup HASHNODE_KEY in Github
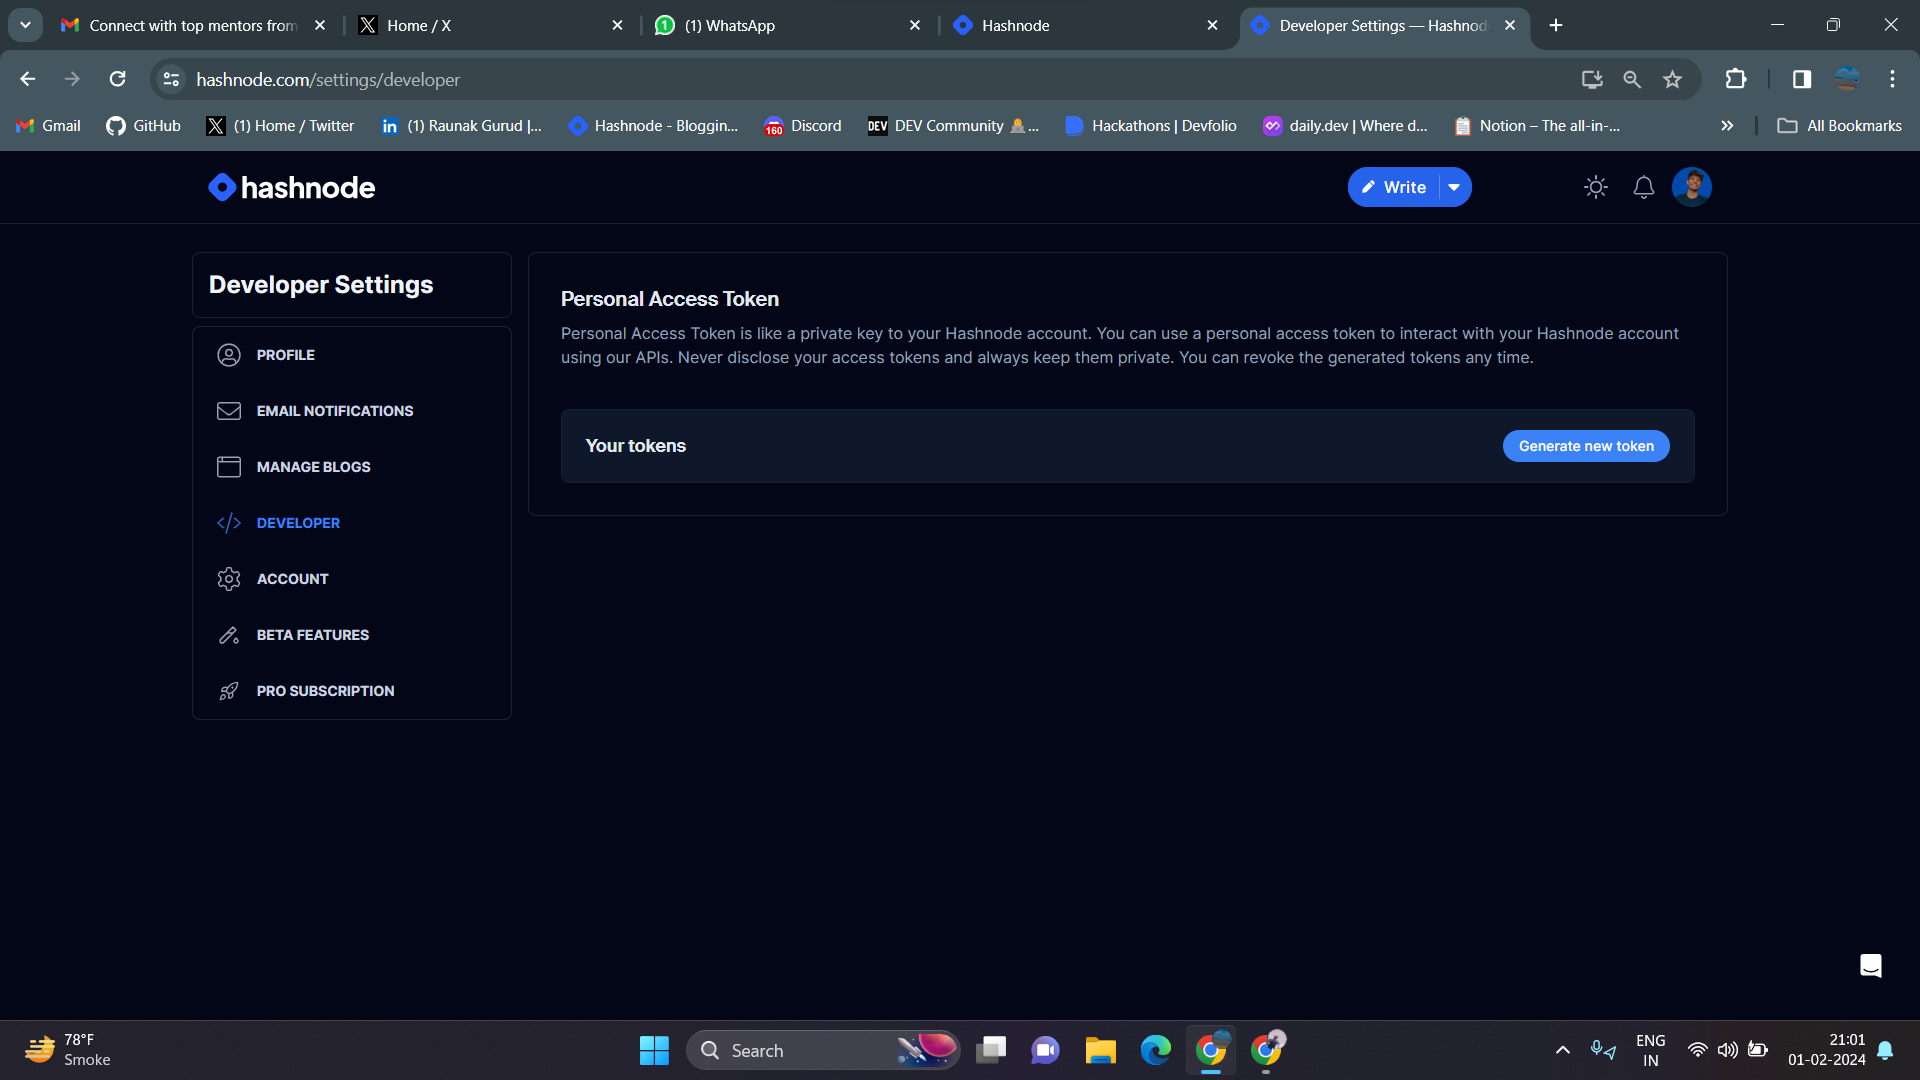
- Click on Generate new token
-
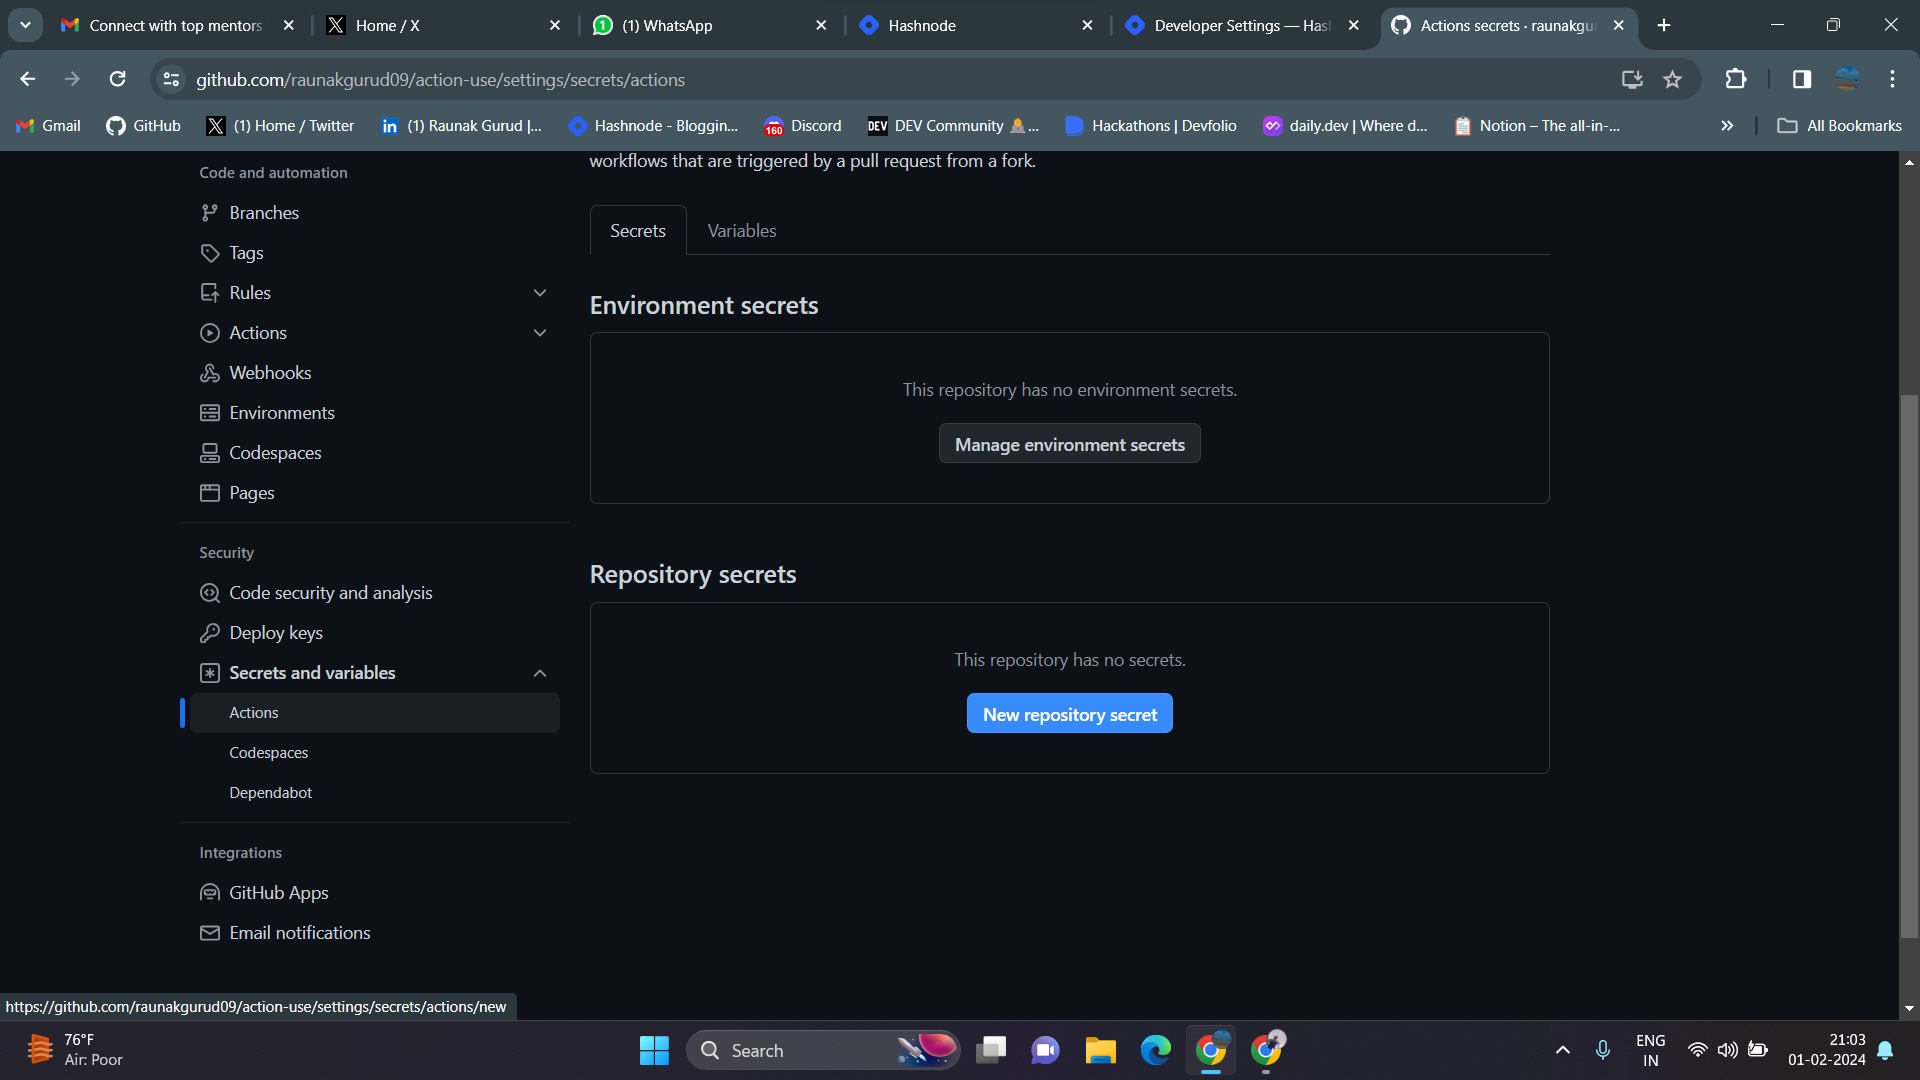
Go to settings page of the repository you want to use the action in
-
Click on New repository secret
- Add the key with the name HASHNODE_KEY and paste the value copied secret, click on add secret
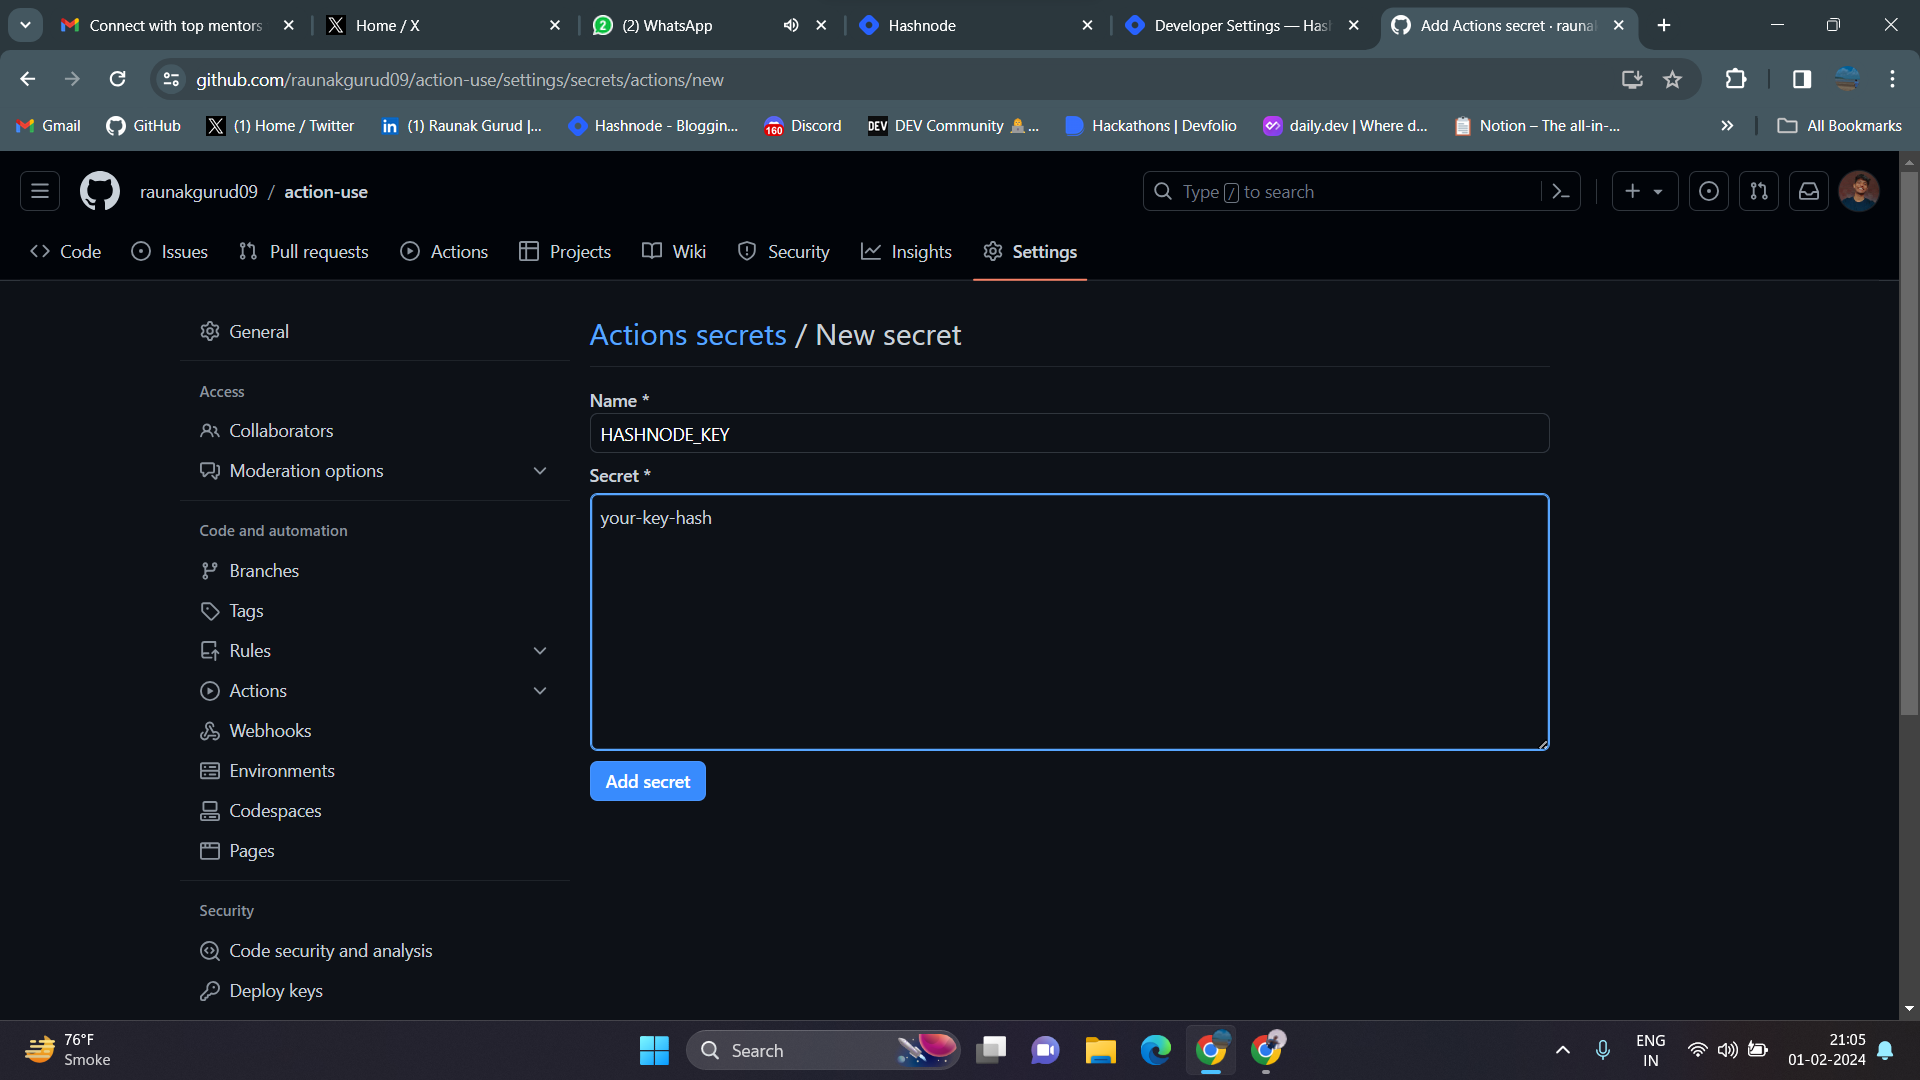
We have successfully setup your hashnode_key on github.
file: The 'file' parameter specifies the path to the Markdown file containing the content of your blog post. Ensure that you set the 'file' parameter to the desired file path for publication.
In the given example, the file parameter is set as post/blog/deploy-nextjs.app.md. The specified path should be relative to the root of your Git repository for accurate referencing.
We have successfully setup your file parameter.
Host: The 'host' parameter specifies the domain of the Hashnode blog URL. Ensure you possess the minimum drafting rights on the provided host.
Providing a 'host' is optional. If omitted, the default value will be set as the host of the primary blog owner.
It is advisable to explicitly provide the 'host' value to ensure accurate configuration and control over the hosting environment.
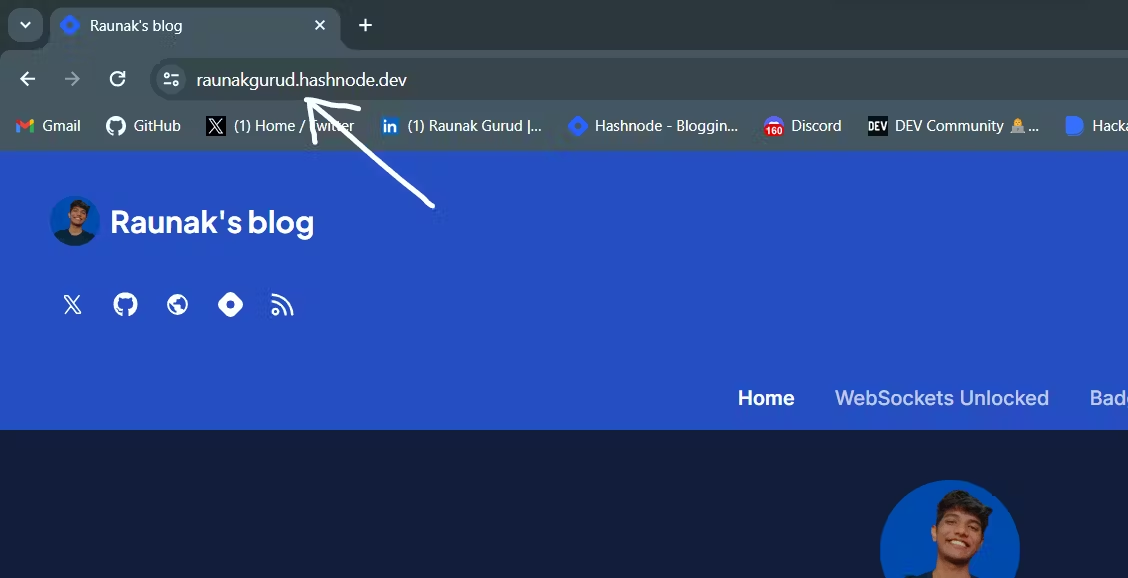
In the given example, the host parameter would be raunakgurud.hashnode.dev
With this we have successfully setup the workflow to publish.
Step 3: Push to github
- Verify the content and layout of your blog to ensure everything is in order. Once you are satisfied, simply stage your file changes
git add .commit them, and then push to the remote GitHub repository.
# Add all the files to staging area
git add .

# Commit the file
git commit -m "publish: deploy-nextjs-app via github"

# push the code to github
git push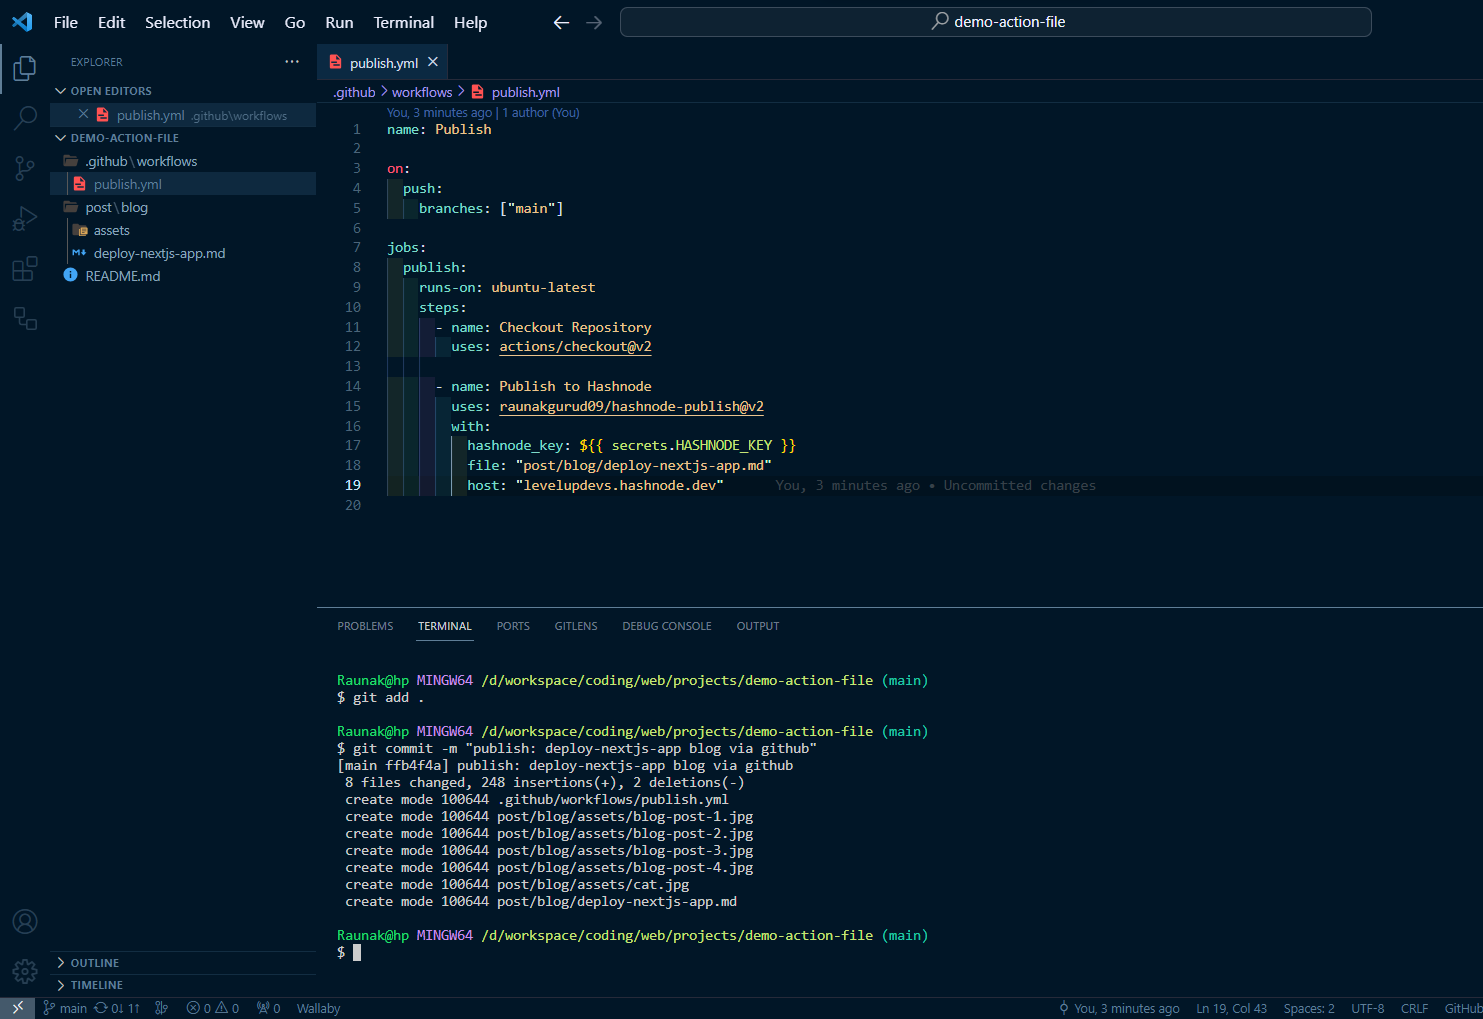
- Navigate to the GitHub page, where you'll observe your uploaded code. Keep an eye out for a yellow dot, signaling that the action is actively running in the background.
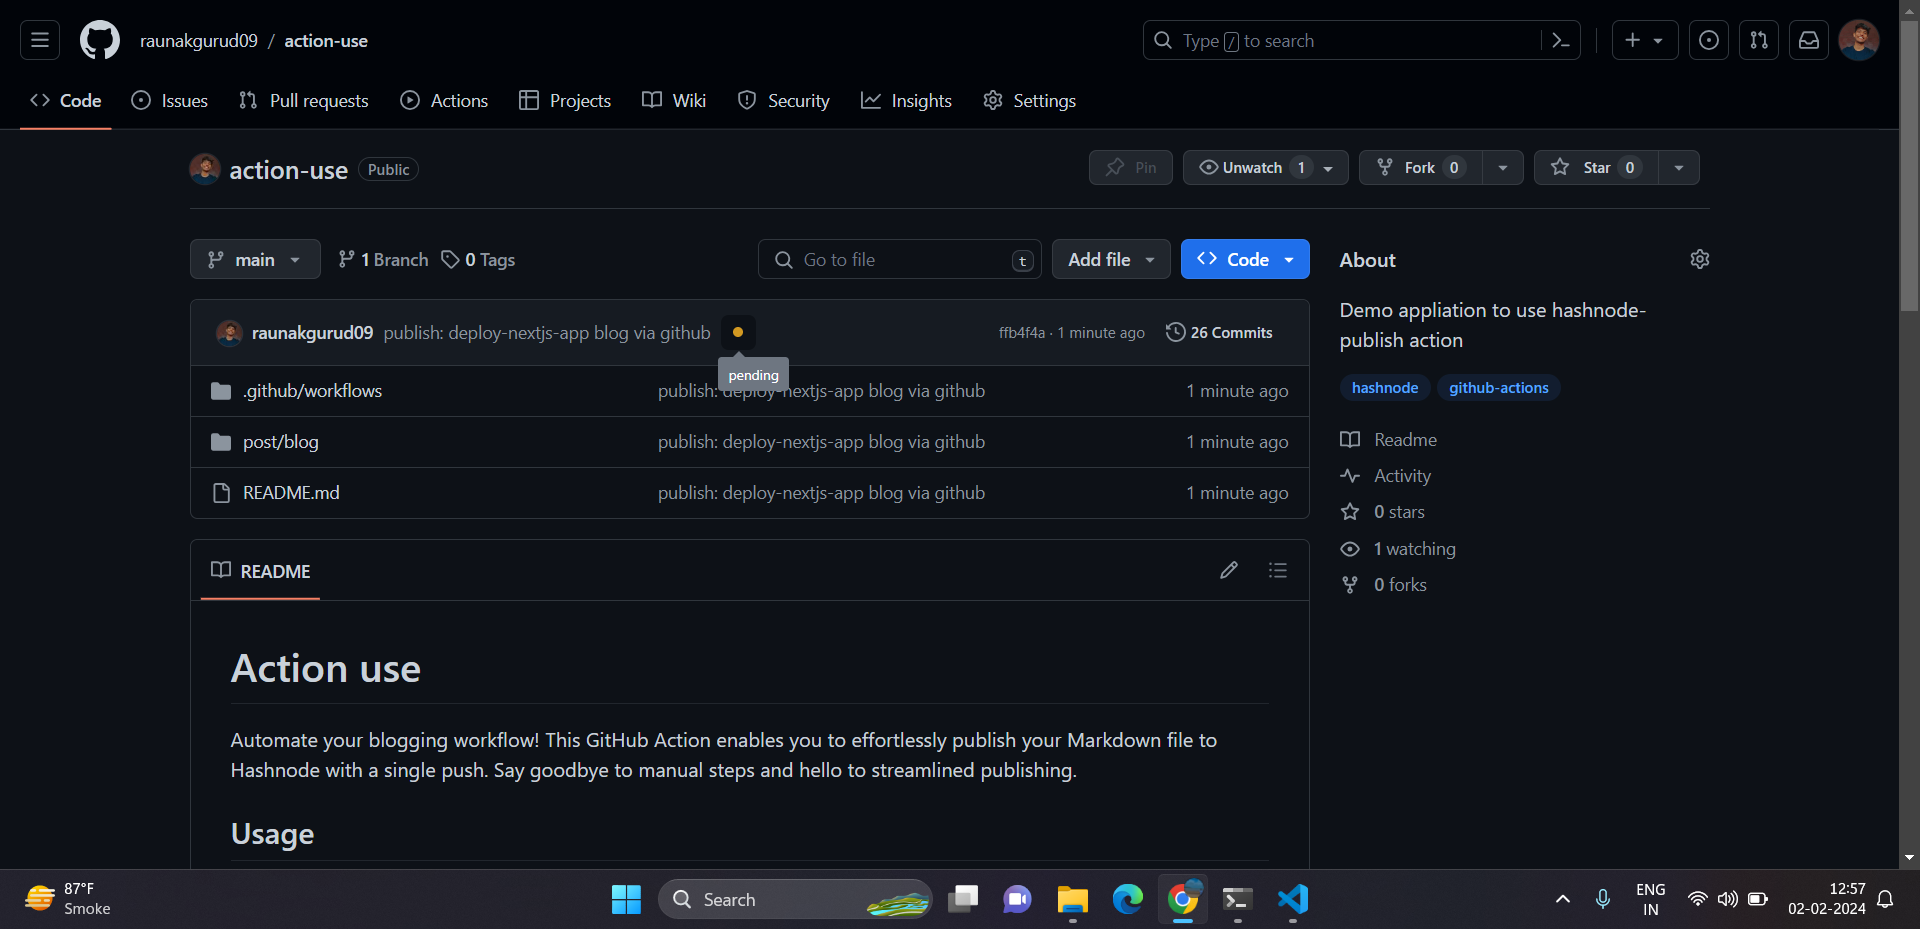
- Click on the yellow dot to access a detailed view of the action currently running.
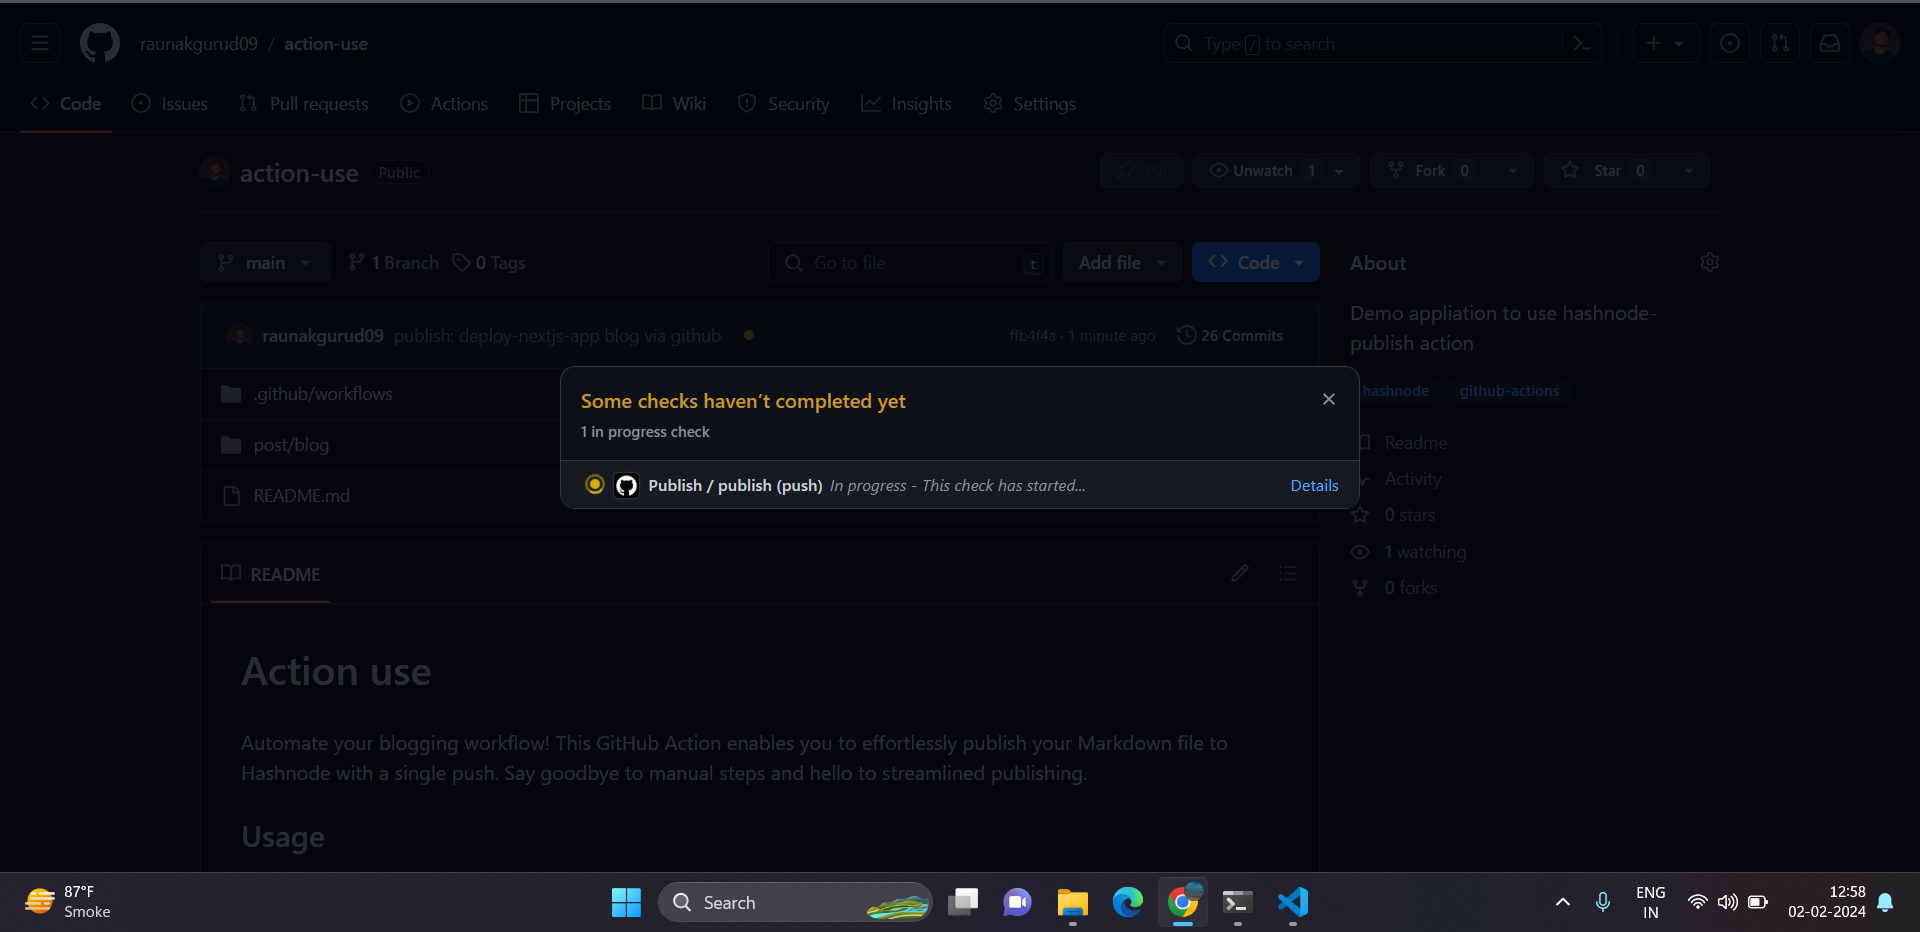
- Go to the "Actions" tab, where you can find comprehensive logs detailing the progress of your action. The output logs contain both success and failure messages, providing valuable insights into the execution of the action.
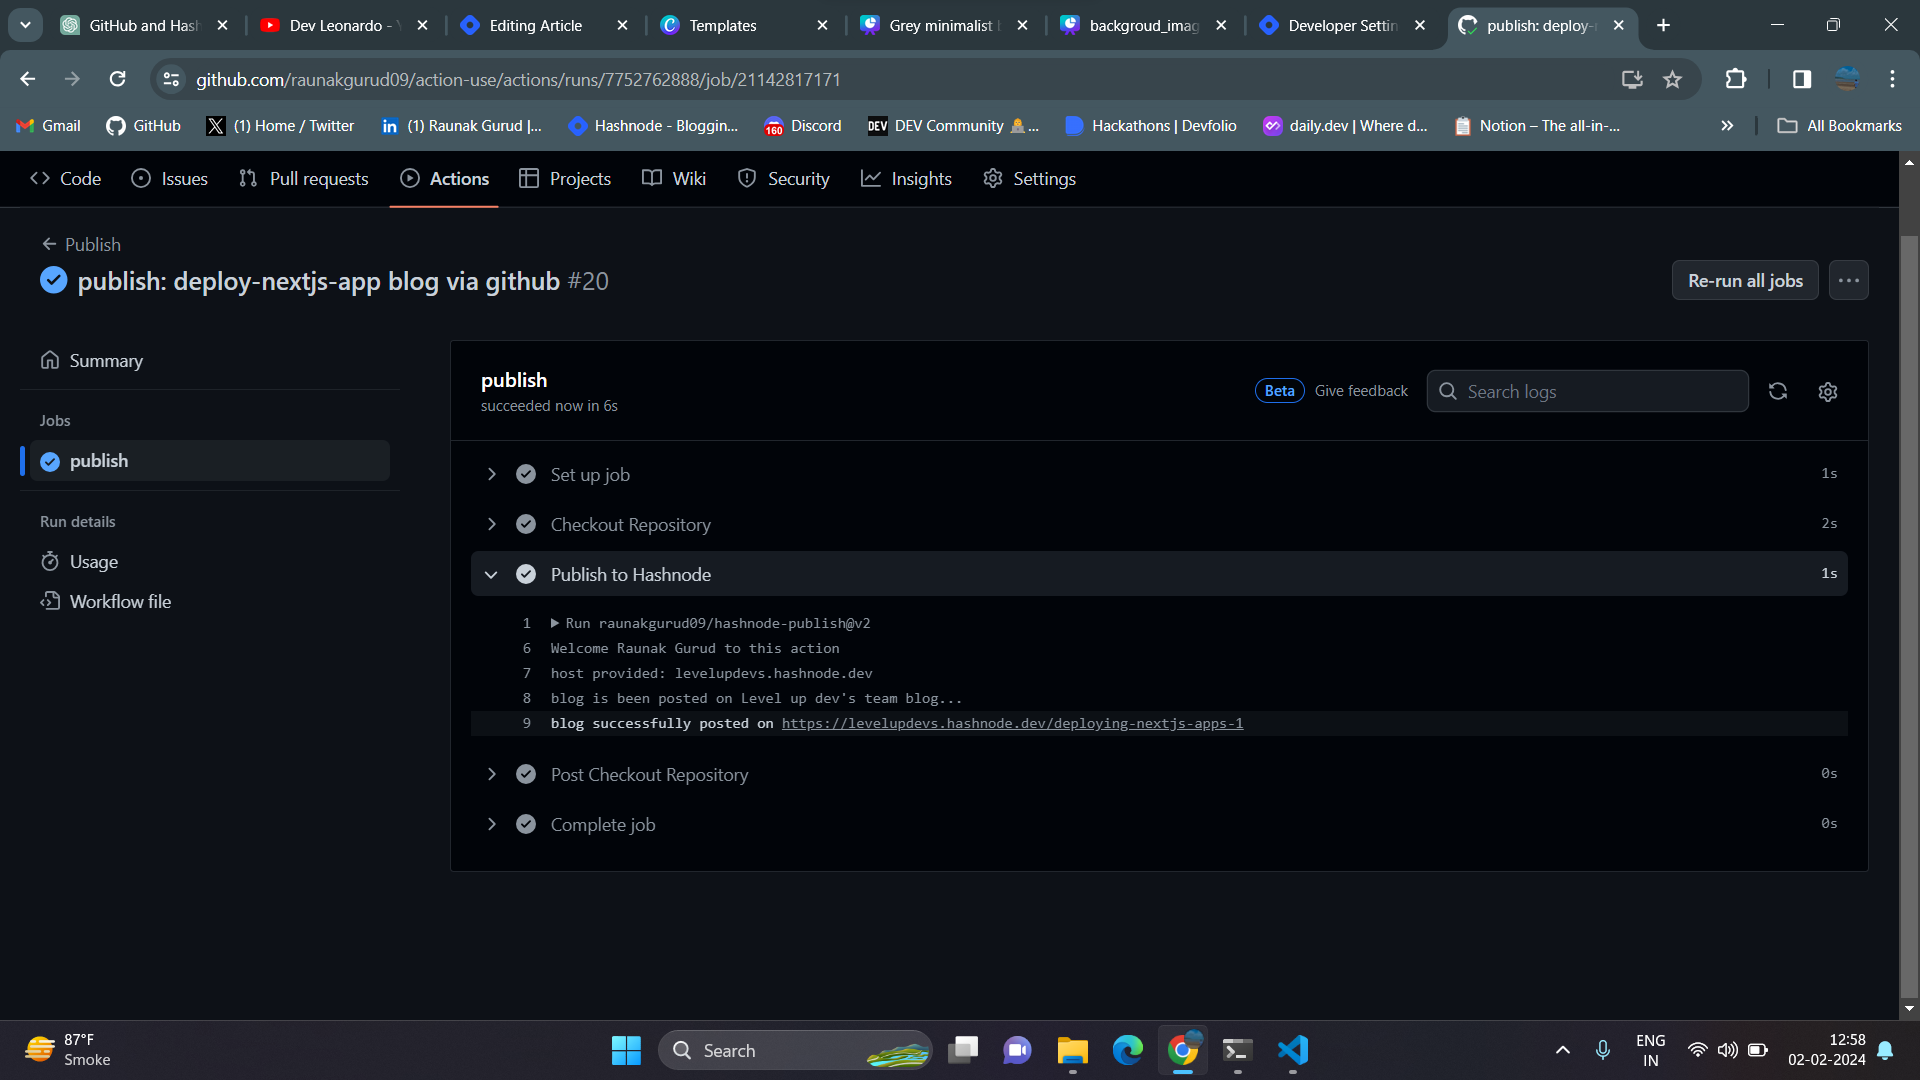
If you see a blue tick and a published link in the logs you have successfully published the blog. Click on the link to verify the blog is uploaded🥳🥳
In summary, this GitHub Actions workflow automates the process of publishing a blog post to Hashnode when changes are pushed to a GitHub repository. The workflow ensures that the specified Markdown file is published to Hashnode using the provided authentication key and blog details.
Reflecting on My Hackathon Journey
During this project, I encountered a challenge related to image URLs. Markdown files utilised relative paths for image URLs, causing Hashnode to be unable to interpret and display them properly on the blog. And I felt I was stuck in a dead road
But by determination and thorough research, I uncovered a solution. By leveraging that on every push github hosts all the assets on raw.github.com, By using this I could formulate a URL that Hashnode comprehends. This insight allowed me to successfully send data, and Hashnode seamlessly integrated the images into the blog. The experience emphasised the power of dissecting issues and seeking innovative solutions to overcome obstacles.
The hackathon experience reinforced the notion that acquiring new skills doesn't have to be time-consuming. By dedicating just a few hours to learning only what is essential through documentation, blogs, or videos, it is enough to start building and learn on the go. I had little experience with GraphQL and GitHub Actions and no idea how to build a GitHub Action or interact with Hashnode's GraphQL API. However, I started learning, and it wasn't difficult to understand. When you learn from the start, it becomes manageable.
References
Create and Publish custom GitHub Actions- MicrosoftDeveloper
Create a Custom GitHub Action - DevLeonardo
Parse image using github images - sinedied
Conclusion
In this journey, we explored the process of utilising GitHub Actions to directly publish Hashnode blogs from any repository. If you're interested in exploring further, feel free to reach out. I can guide you on using the action or even assist in creating your personalised action.
Thank you for Reading the complete blog. Follow @Raunak Gurud for more such projects✨
Socials